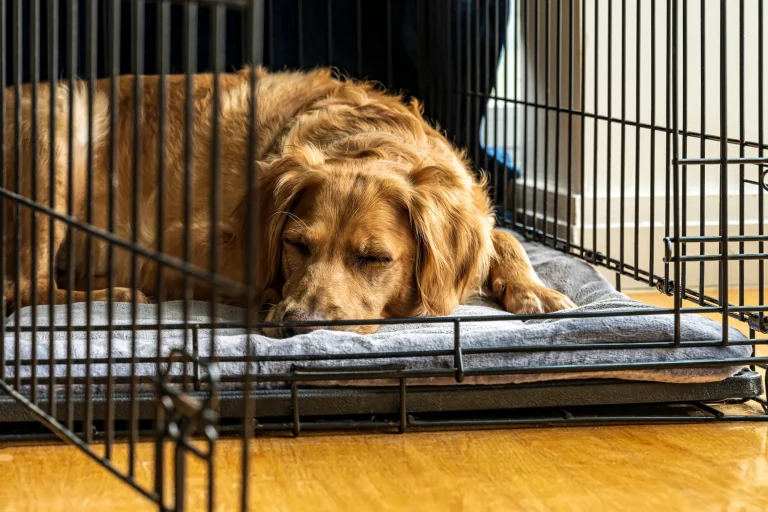
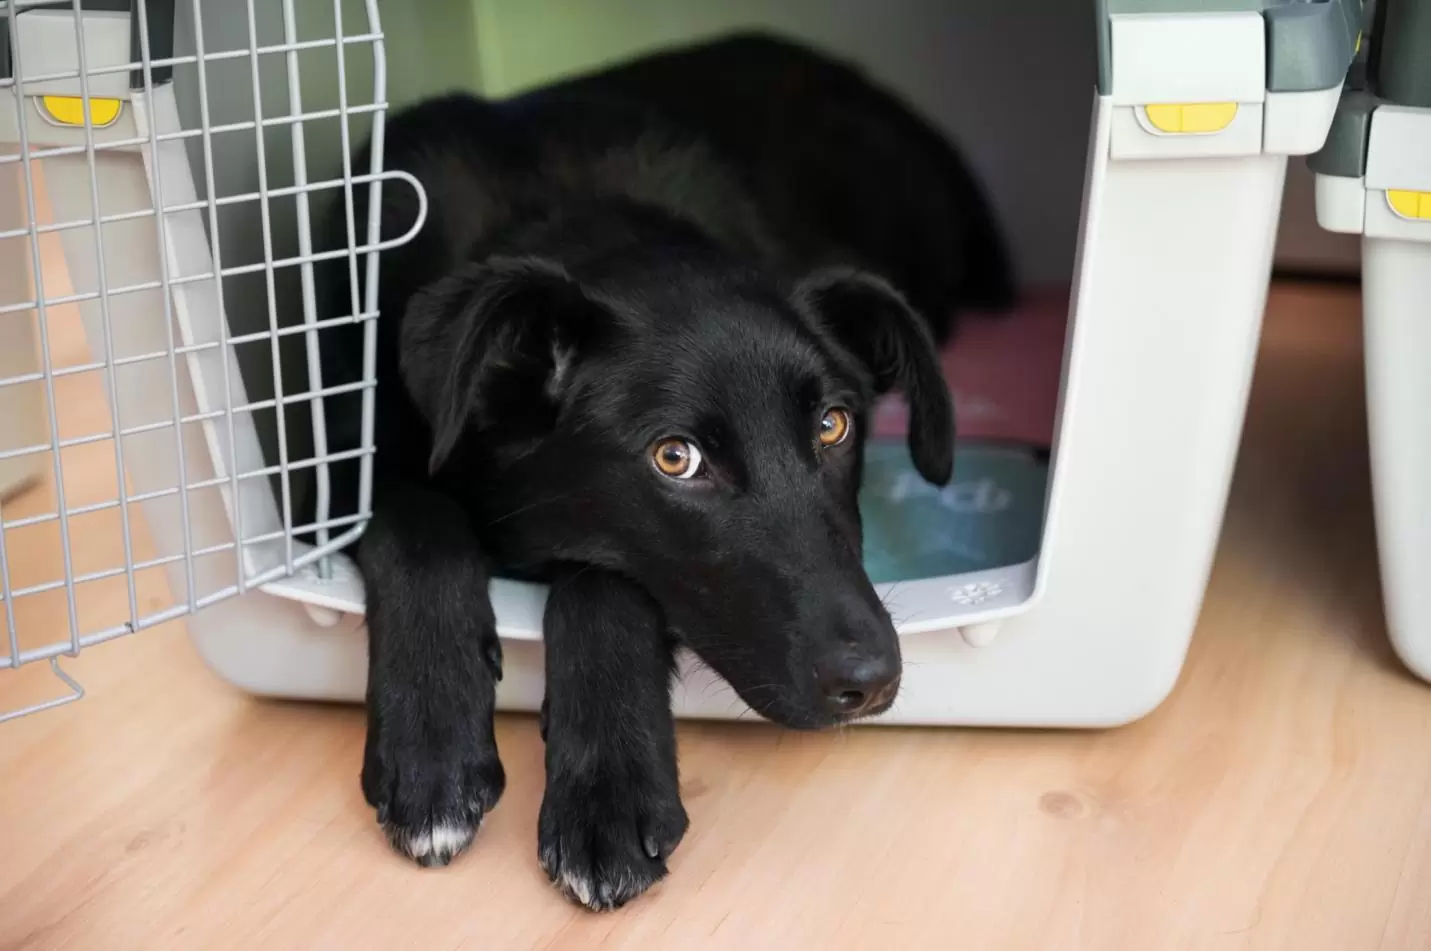
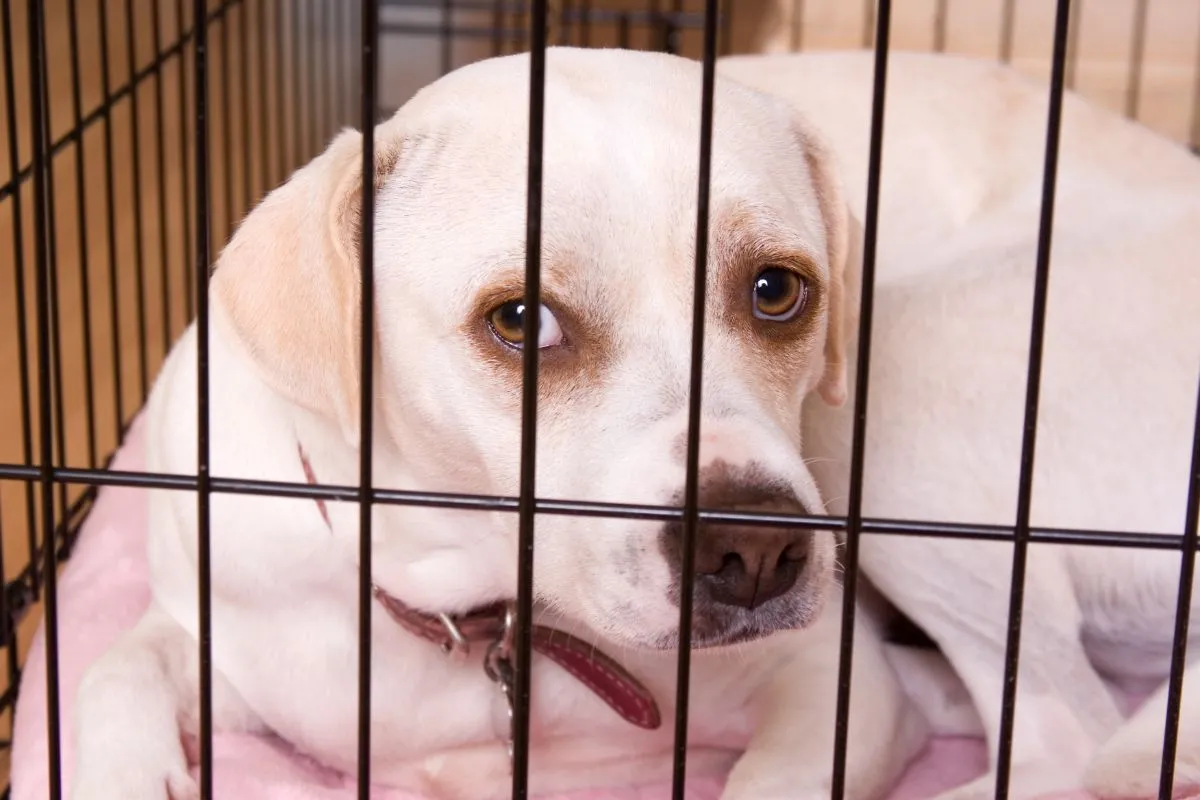
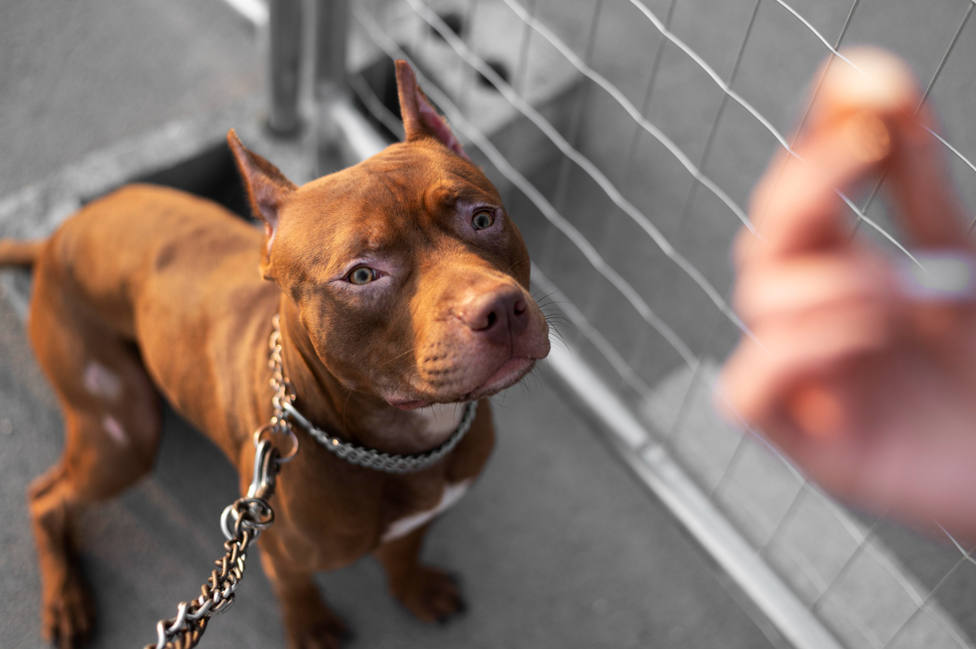
So, you’ve adopted a rescue dog. We want to congratulate you on the new addition to your household. You are probably aware already that rescue dogs carry their own set of challenges. Since we do know their history, breed characteristics, and so on, we cannot properly guess their temperament. When it comes to rescued dogs, crate training is one of the big challenges. How to crate train a rescue dog?
Well, for starters, you have to understand that rescue dogs might have had a troublesome history before they arrived at your home. For example, a shelter animal might have been anxious or stressed in the cage. Or a rescue dog might have been abused as a puppy.
Before you begin your dog training process, you have to consider these things. Adopting a rescue can sometimes be a bigger challenge with more responsibilities. But in the end, it is worth it. These dogs cherish the opportunity of a new life, and they are grateful for your kindness.
The Importance Of Dog’s History
If possible, try to find out as much about your rescue dog as you can. Understanding its former life will go a long way in crate training a rescue dog.
Often, these dogs suffered trauma in the past. And that can make things difficult and challenging in the beginning in the new home. Pet parents should be aware of this.
Sometimes, these dogs were brought to the shelter as puppies and spent quite a lot of time in the shelter. Dogs that have been kept in crates for extensive periods, contained in the shelter for 14 to 20 hours per day, are likely to refuse crate training in the beginning.
Their prior experience in a cage is so bad, created such an aversion and anxiety, and they will refuse the crate. It reminds them of the stress in their shelter.
Creating A Bond With Your Puppy
Before you can even begin thinking about how to crate train a rescue dog, you have to work on your bond and relationship. In most cases, your new puppy will not trust you instantly.
They need time to warm up to their new owner and show off their personality. Sometimes, it might take up to a month for your dog to reveal its personality and be cheerful again.
How can you improve the bond? Simply, by feeding. If your dog is scared to come to you for feeding, throw food and slowly and gradually work on getting them close to you. Once your new rescue dog starts coming to you for food, hand-feed.
There is no better way of improving the bond between a dog and its owner than hand-feeding.
When Should You Practice Crate Training?
One of the biggest mistakes new dog owners make is they think they can practice training at any point of the day. Wrong. You have to be specific and pick your dog training session classes carefully.
You set yourself up for failure by starting training with a dog that is wide awake and ready to party. Always do crate training sessions with a tired dog that is ready for a nap. For example, after a long walk in the park. Never try to put a dog that just got woke up into a crate. You are setting up yourself for failure. Who wants to go to bed immediately after waking up, right?
When Crate Training Doesn’t Work
I have to be honest with you, crate training doesn’t always work. You might be doing everything right, but in some rare cases, even the best training techniques don’t work. If your rescue dog falls into one of the following categories, it might be better to think of something else than trying crate training.
- Adult dogs that have crate aversion, usually rescue dogs that have been crated all day long in their previous home
- Senior dogs with early signs of doggy dementia
- Dogs with separation anxiety
What You Shouldn’t Do
Before we get to the step-by-step guide on how to crate train a rescue dog, I want to stress a couple of things. Namely, things you shouldn’t be doing.
- Never use the crate as a doggy sitter
- Never use the crate as a form of punishment
- Do not use the crate for long periods, like your entire workday
- Do not lock the crate door if your dog doesn’t seem comfortable
- Never let your dog out if he is whining, barking, or begging, you are creating a wrong impression and rewarding whining behavior
- While some dogs can hold their bladders for long periods, do not push it
How To Be Successful In Crate Training?
Now, let’s talk about how you can crate-train a dog. I will give you a step-by-step guide. Do not move on to the next step until both you and your dog are comfortable with the current one.
Step 1 – Choose The Right Crate
Before you can even think about training, you have to find a crate that works for your puppy. The size is important and should be comfortable enough for your puppy to enter, but not run around. It should be big enough so that your dog can stand up and turn around. If you have a young and growing puppy, get one that will be suitable for the adult version.
Step 2 – Positioning The Crate
The position is quite important as well. Remember, dogs are social animals. The crate should be in a room where you spend the most time. If you put a crate in the laundry room, you are failing miserably from the beginning.
Your dog will eventually be comfortable to enjoy alone time in its crate. But that will be in a room where he/she can monitor you.
Step 3 – Introducing The Crate
This is probably the single most important and challenging step of the entire process. It is also the place where most people fail.
You have to let your dog get familiar with the crate. In the beginning, you can just put the crate in the family room, and let it stay there for a week or two. Place it in a room where you spend a lot of time. Let the door open.
Allow your dog to explore it on its own, and get used to the crate. The door should be always open so that your furry friend can come in and out at any time.
Step 4 – The Treat Trick
After the crate has been in the living room for a while, it is time to allow your dog to get in on cue. Use treats to get your dog to get in.
Start by placing treats close to the crate, and then inside the entrance. Eventually, place the treats all the way in.
Do not instantly close the door. Once your dog gets all the way in, feed treats inside or kibble with the door open.
Just remain patient until your dog is comfortable on its own inside the crate. Then, start closing the door. Gradually increase the time with the door closed.
Step 5 – Feeding Your Dog In The Crate
You start with treats and then move on to meals in the crate. The goal here is to teach your dog that the crate is actually its home within the home, a safe place. It is the place where food and water are positioned. This will create a positive association with the crate.
Start by putting the food bowl close to the entrance, and then all the way back in.
Step 6 – Increase Crate Time
Once your adult dog gets treats and food in the crate, it is time to move on to the next phase. And that is gradually increasing time. Start with a short period like five minutes, then up to 30 minutes, one hour, and two hours.
Do not go overboard. As we said before, the crate is not your sitter. You should not leave your dog inside for the whole day.
Step 7 – Crate Your Dog When You Go Out
This step is similar to the previous one. You begin by crating your dog for five minutes while you are out to get something from the store. Then, gradually increase crate time. Keep your departures and arrivals low-key.
Do not make a big fuss about going out. And when you come back home, put your puppy in a calm sit position, and then give treats. You do not want to reward the overly excited behavior.


